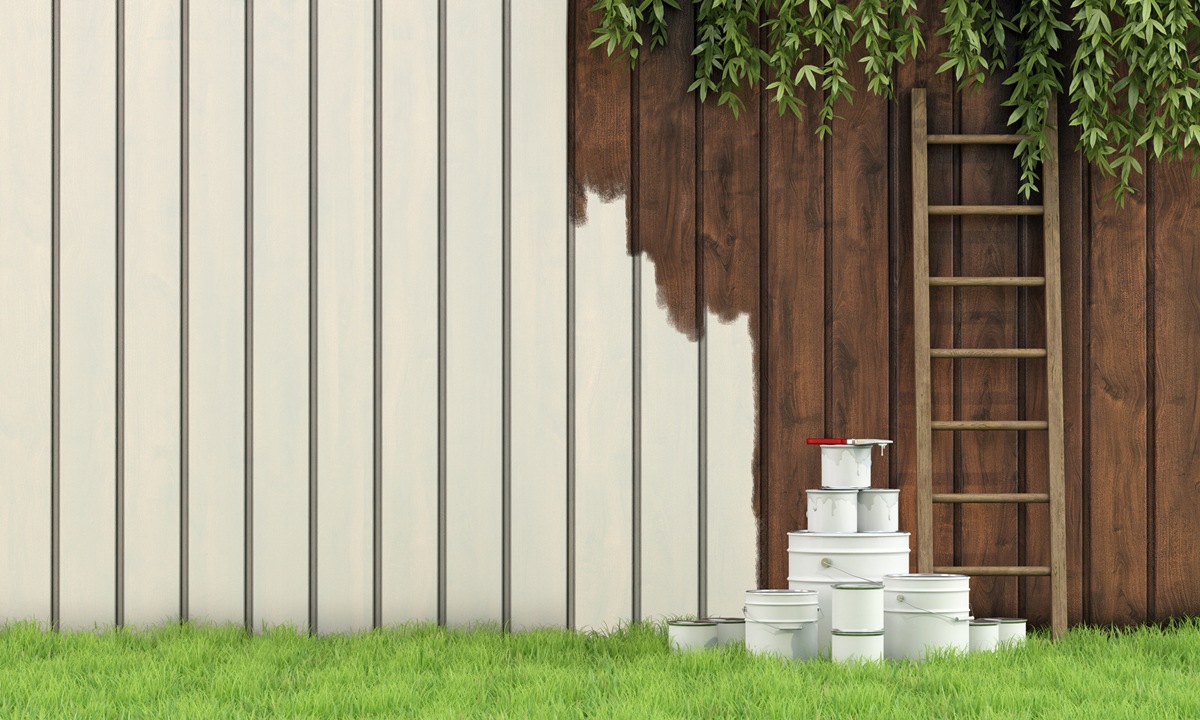
Painting a fence sounds simple enough, but without the right approach, it can quickly turn into a splattered, uneven mess. Whether you’re hiring professional fence painters or taking the DIY route, understanding how to achieve mess-free fence painting is key to a clean, professional-looking finish. Many homeowners make the mistake of skipping prep steps or using the wrong tools, and that’s when the trouble starts.
Key Takeaways:
- Proper prep is half the job.
- The right tools make all the difference.
- Technique matters as much as materials.
- Weather and timing impact results.
- Clean-up is just as important as painting.

Why Mess Happens When Painting a Fence
Before diving into solutions, let’s talk about the root of the problem. Most of the mess in fence painting comes from three things: lack of preparation, poor technique, and incorrect tools. Fence painters know that skipping masking or not cleaning the fence first often leads to drips, splatter, and uneven results.
Step-by-Step Guide to Mess-Free Fence Painting
1. Clean the Fence Thoroughly
Start with a clean surface. Dirt, cobwebs, mildew, or old peeling paint can interfere with adhesion and cause messes. Use a wire brush, mild detergent, and water. For large jobs, a pressure washer can speed things up—but be gentle to avoid damaging the wood.
2. Mask and Cover Surrounding Areas
One of the best tricks for mess-free fence painting is protecting what’s around the fence. Lay down drop cloths or plastic sheeting over grass, patios, or flower beds. Use painter’s tape to mask off adjacent structures or hardware like hinges and handles.
3. Choose the Right Tools
Fence painters often prefer brushes for precision and sprayers for speed. If you’re using a sprayer, choose one with adjustable settings and always test it on scrap wood or a hidden section first. For brush painting, use angled sash brushes or high-quality rollers for better coverage and fewer drips.
4. Pick the Right Paint
Use exterior paint designed for fences and outdoor exposure. Oil-based paints last longer but are messier; water-based options are easier to clean up but may need more frequent touch-ups. Look for paint labeled “low splatter” for even more control.
5. Paint with Technique
Start from the top and work your way down in sections. For brush or roller applications, use long, even strokes and avoid overloading your brush. If using a sprayer, keep a consistent distance and motion. Don’t spray in windy conditions—that’s an instant mess waiting to happen.
6. Mind the Weather
Ideal painting weather is dry, with low humidity and mild temperatures. Wind can blow paint where it doesn’t belong, and rain can ruin fresh coats. Always check the forecast before starting.
7. Clean Up Like a Pro
Once painting is done, remove all masking tape while the paint is still slightly tacky to avoid peeling. Wash brushes or clean out the sprayer right away. Fold up drop cloths carefully so you don’t accidentally spread wet paint. Dispose of empty paint cans and rinse water responsibly.
Common Mistakes to Avoid
Avoiding a mess while painting a fence isn’t just about what you do—it’s also about what you don’t do. Here are some of the most common mistakes homeowners make when painting their fences and why steering clear of them is crucial to a clean, smooth job:
- Skipping prep: Dirty surfaces won’t hold paint well. Paint adheres best to clean, dry surfaces. Failing to wash off dust, mildew, or old peeling paint leads to poor coverage and more mess later.
- Overloading brushes or sprayers: This leads to drips. Dipping too deep into the paint or spraying too close to the fence saturates the surface and causes paint to run, leaving streaks and blotches.
- Not using drop cloths: Spilled paint on patios and grass is hard to fix. A lack of protective covering turns a neat job into a clean-up headache, especially if paint drips onto concrete, flowers, or lawn areas.
- Painting in the wind: Overspray travels further than you think. Even a light breeze can carry paint mist onto nearby cars, siding, or windows, turning a simple project into a costly mistake.
- Ignoring the weather: Sudden rain or humidity ruins drying paint. Paint that hasn’t fully cured can bubble, run, or wash away entirely in wet or overly humid conditions.

When to Hire Professional Fence Painters
If your fence is very large, heavily weathered, or hard to access, it might be time to call in the pros. Fence painters have the equipment, experience, and techniques to get the job done quickly and neatly. Plus, they’ll often guarantee their work and clean up after themselves.
Final Thoughts
Mess-free fence painting is totally doable, even for first-time DIYers. With the right prep, tools, and timing, your fence can look fresh and clean without turning your yard into a disaster zone. And if it feels overwhelming, professional fence painters are just a call away.
For expert help with your fence, contact TRICO PAINTING today at 916-957-2633. Whether you’re after a full repaint or just want advice on getting started, we’ve got your back with mess-free, professional service you can count on.

