Painting the interior of a home can be both challenging and exciting. One of the biggest dilemmas when tackling this project is deciding whether to paint the walls or trim first. While it may seem like an easy decision, several factors should be taken into consideration before making your choice. This article will discuss various approaches to painting walls or trim first, as well as provide tips for getting the best results when interior house painting. It will also discuss how to choose colors and finishes that work together and offer advice on using tools and techniques for even coverage.
When it comes to painting the interior of a home, one of the biggest questions is whether to paint the walls or trim first. The answer depends on several factors and there are a few different approaches that can be taken.
For interior painting, it’s recommended to start with the trim paint, then move on to the ceilings, and finally paint the walls. Taping off trim is easier and faster than taping off walls. This method eliminates the need to worry about painting trim neatly, as any paint that gets on the ceiling or walls can be painted over. However, ensure that the trim has a smooth finish and allow it to dry for 24 hours before painting the ceiling.
Trim First
Paint the Trim and Baseboards
We suggest painting the trim before the walls in most situations. After the paint dries, apply tape to the trim and begin painting the walls. Choose a high-quality semi-gloss paint to provide protection to the wood and give a nice shine to the baseboards and trim.
Paint The Ceilings Second
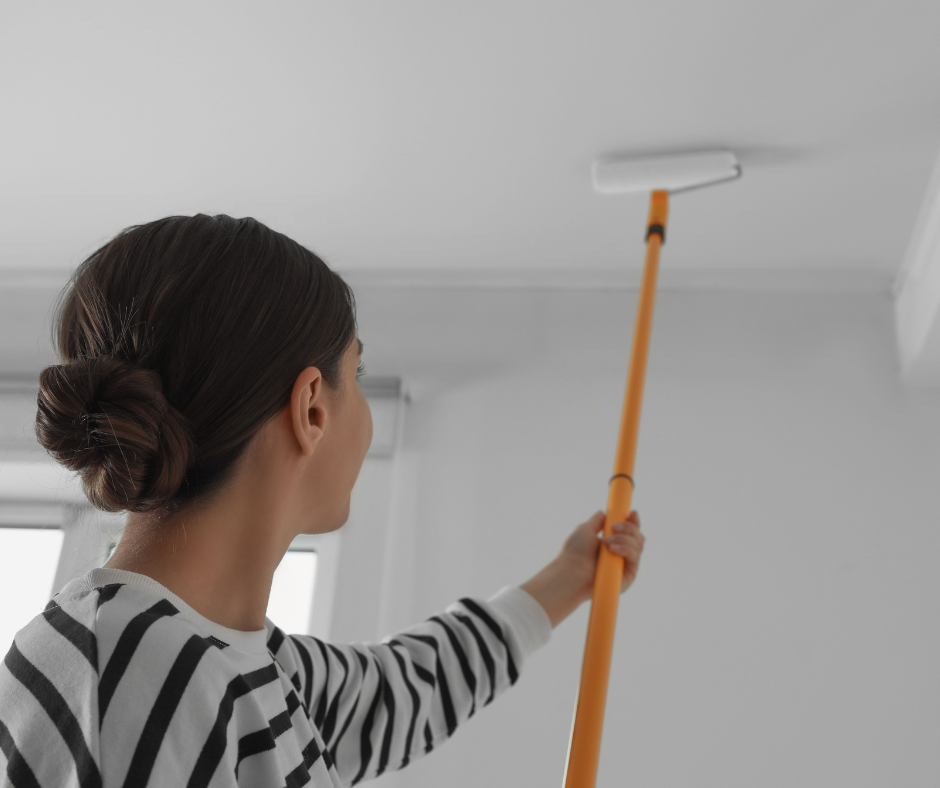
To avoid paint splatters on your walls, it’s better to paint the ceiling before the walls. Begin by using a 2 ½ in. angled brush to “cut in” the edge of the ceiling surrounding the room. Then, use a ⅜” nap roller to paint the rest of the ceiling, rolling in a single direction. Try to minimize lap marks by using a high-quality roller cover for your paint job. Don’t overload your roller with too much paint. If a second coat is necessary, apply it by rolling in the opposite direction of the first coat. Wait until your ceiling is completely dry before masking it with painter’s tape.
Painting The Walls
A good interior painting technique is to paint one room section at a time. After cutting in, immediately roll out the wall while the paint is still wet to avoid visible brush lines. Also, paint around the edges of the trim, baseboards, and the ceiling perimeter.
Make sure to stir your paint well using a stir stick before starting to paint. Fill your roller tray halfway with paint and then load your roller. Begin painting away from the baseboards towards the ceiling in a straight line. Roll straight back down to ensure full wall coverage, and make sure to overlap each stroke at the edge to avoid creating lap marks.
Avoid wasting paint and time washing your brushes, you can place your roller or brush in a ziplock bag and seal it if you need to take a break but haven’t finished your painting. This prevents the paint from drying out, so you can take a break without worrying about cleaning up. When you’re ready to resume painting, simply remove the brushes from the bag, and they’ll be ready to use again.
Painting Tips
To achieve a more polished look when painting walls, it’s helpful to follow some tips. When using a brush to paint edges and corners adjacent to the trim, the texture will appear different from the areas painted with a roller. For optimal results, paint with a brush and then quickly follow up with a roller before the paint dries.
To avoid lap marks when painting your walls, try maintaining a wet edge. This means rolling your roller to the floor and making sure to overlap with the previous section, rather than using a typical “W” pattern. Lap marks occur when painting over partially dry sections. When painting larger areas like ceilings, where maintaining a wet edge is difficult, feather out the paint to minimize lap marks. These techniques will prevent the need for multiple coats of paint to achieve a uniform appearance.
Remove Tape and Clean Up
To achieve a neat finish, remove the painter’s tape from the trim and baseboards when the paint is almost dry. Score the tape’s edge where it meets the wall using a flexible putty knife. Remember to wash your paintbrushes with soap and water immediately after use to avoid difficulties in removing dried paint. Once the paint is completely dry, replace the switch covers and outlets.
Choosing Colors
When choosing colors, there are a few things that should be kept in mind. If the walls and trim are both painted in a light color, it may be best to choose a slightly different shade or hue for the trim to create contrast. For darker colors, using wall paint that is a complementary shade on the trim can help bring out the richness of both colors. When picking finishes, matte works well if there is much activity in the room as it is easier to clean, while high-gloss finishes look best in formal areas. Remember to keep a wet edge
When painting, there are a few tips that can help achieve good coverage and even results. For starters, use painter’s tape or painter’s caulk around the edges of the trim for sharper lines and to prevent any drips from getting onto the walls. Use high-quality brushes and rollers, as well as a primer when needed, to ensure even coverage. Finally, make sure to take breaks while painting and let the paint dry completely between coats for the best results.
No matter which approach you take when painting the walls or trim first, keeping these tips in mind will help you get the best possible outcome. With a little bit of prep work and the right colors, finishes, tools, and techniques, you can paint your walls or trim with confidence and create the perfect look for your home.
Conclusion
Painting the walls and trim of your home can be a daunting task, but it doesn’t have to be. With some proper preparation, choosing the right colors and finishes, and following tips like painting from trim to wall or ceiling first you can achieve an even coverage that looks great. Whether you are tackling this project yourself or hiring someone else to do it for you, these house painting tips will help ensure that your interior comes out looking beautiful! Good luck with all your future home improvement projects!
Tools and Equipment
What tools will I need to paint the interior of a room?
We suggest that you have the following items for your interior painting project.
- Rubber Gloves – We recommend that you wear rubber gloves when you paint walls.
- Paint Bucket
- Tack Cloth for removing dust after you lightly sand
- Painters Tape
- Masking Paper
- Drop Clothes
- Red Rosen Paper
- Roller / Roller Frames
- Paint Bucket Grids
- Stir Sticks
- High Quality Latex Paint