You’re staring up at those ugly yellow-brown stains on your ceiling, wondering if a fresh coat of paint will make them disappear. Maybe you just bought a house where the previous owner smoked, or perhaps years of cooking have left their mark. Before you start your next interior house painting project, you need to know the truth: regular ceiling paint won’t solve your problem. Most homeowners waste time and money applying coat after coat of regular paint to hide ceiling stains, only to watch those stains bleed right through within weeks.
Here’s what’s really happening. Those stains aren’t just sitting on the surface. They’ve soaked deep into your ceiling material. When you apply regular paint over them, the oils, tar, and residue work their way through the new paint like water through a paper towel. You end up frustrated, out of money, and still looking at stained ceilings.
Key Takeaways:
- Regular ceiling paint cannot block smoke or cooking stains on its own
- Stains will bleed through standard paint within days or weeks
- Stain-blocking primer must be applied before any ceiling paint
- Oil-based primers provide the strongest stain-blocking protection
- Proper surface prep removes loose debris and improves paint adhesion
- Two coats of quality ceiling paint over primer give you lasting results

Why Regular Paint Fails to Cover Ceiling Stains
Your ceiling stains come from more than just discoloration. Smoke deposits contain tar and oils. Cooking stains carry grease particles that have bonded with your ceiling over months or years. These substances create a barrier between your ceiling and any new paint you apply.
When you roll regular latex ceiling paint over these stains, you’re not sealing them in. You’re just covering them temporarily. The heat from your home, humidity from cooking, and natural aging of the paint allow those oils and tars to migrate through the new paint film. That’s why you see the stains reappear, sometimes within just a few days.
Think of it like trying to stop a leak by hanging a towel over it. The towel might hide the problem for a moment, but water keeps coming through. Your ceiling stains work the same way.
What Type of Paint Actually Works on Stained Ceilings
Here’s where things get better. The right paint to hide ceiling stains isn’t actually a ceiling paint at all. It’s a stain-blocking primer. This special coating creates a seal between your stained ceiling and your final paint coat.
Stain-blocking primers come in three types:
- Oil-Based Primers: These offer the strongest stain protection. They smell strong during application and take longer to dry, but they create an impenetrable barrier against even the worst nicotine and smoke stains. If you’re dealing with heavy smoke damage, this is your best choice.
- Shellac-Based Primers: These dry fast and block stains almost as well as oil-based options. They work great for moderate stains and don’t smell as strong as oil-based primers. Many pros prefer shellac primers for their quick turnaround time.
- Water-Based Stain Blockers: These are easier to clean up and have less odor, but they’re not as effective against heavy staining. Save these for light stains or small areas.
After applying the right primer, you can use any quality ceiling paint as your top coat. The primer does the heavy lifting of blocking stains. The ceiling paint just provides the clean, white finish you want.
How to Prep Your Ceiling Before Painting
You can’t just roll primer over your stained ceiling and call it done. Surface prep makes the difference between a paint job that lasts and one that fails in six months. Here’s how to do it:
- Start by cleaning the ceiling. Mix warm water with a mild detergent and use a sponge to wipe down the stained areas. This removes loose dirt and grease that would prevent proper adhesion. Let the ceiling dry completely before moving forward.
- If you see any peeling or bubbling paint, scrape it away with a putty knife. Sand these areas smooth so your new primer sits flat against the ceiling. Vacuum or wipe away all the dust and debris from sanding.
- Check for any water damage, cracks, or holes. Patch these spots with spackling compound and let them dry. Sand the patches smooth. Water-damaged areas need extra attention because moisture can cause future staining problems even after painting.
- For rooms where someone smoked heavily, you might need to wash the ceiling with a TSP (trisodium phosphate) solution. This cleaner cuts through the tar and nicotine buildup better than regular soap. Wear gloves and eye protection when using TSP.

The Right Way to Apply Stain-Blocking Primer
Now comes the part that makes or breaks your project. Applying stain-blocking primer correctly means your stains stay hidden for years.
- Open your windows and turn on fans. Oil-based and shellac primers produce strong fumes. Good ventilation keeps you safe and helps the primer dry properly.
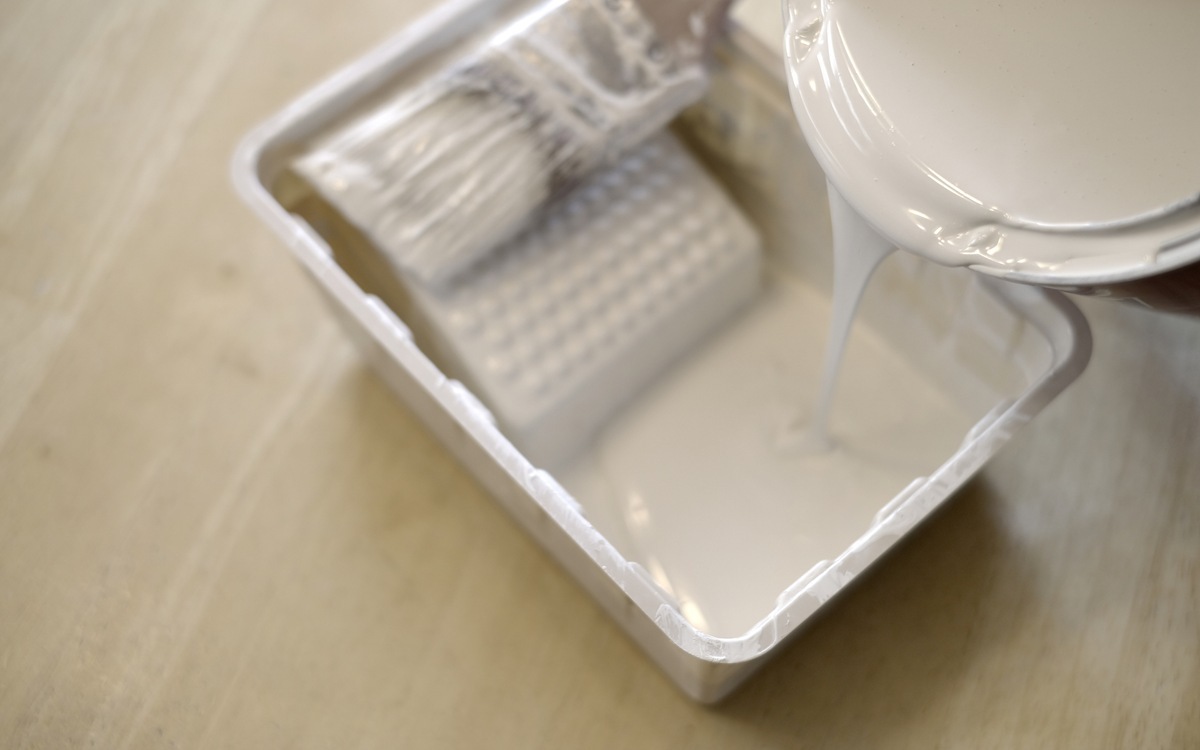
- Pour your primer into a paint tray. Use a quality roller cover designed for the type of primer you chose. Cheap rollers leave lint and don’t hold enough product.
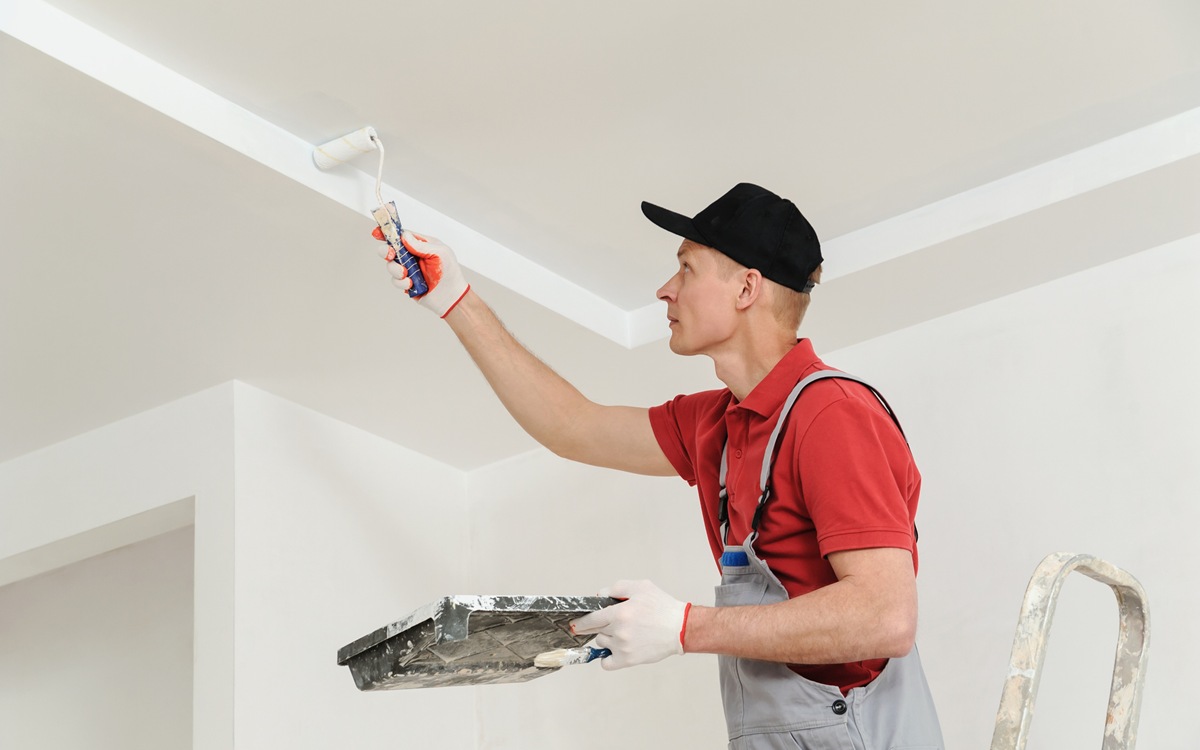
- Roll the primer onto your ceiling using even pressure. Don’t try to cover everything in one thin coat. A thicker application of primer does a better job blocking stains. Start at one corner and work your way across the ceiling in sections about 4 feet wide.
- Pay special attention to the heavily stained areas. You might need to apply extra primer to these spots. Let the first coat dry according to the manufacturer’s directions, usually 2-4 hours depending on your primer type.
- Look at your ceiling after the first coat dries. Can you still see the stains showing through? If yes, apply a second coat of primer. Heavy smoke stains often need two coats for complete blocking.
Choosing Your Final Ceiling Paint
Once your primer is dry and blocking those stains, you’re ready for the finish coat. This is where you get to make your ceiling look brand new.
Flat ceiling paint is the standard choice for most homes. It hides imperfections and doesn’t create glare from light fixtures. The matte finish gives ceilings a clean, professional appearance.
Some homeowners prefer a low-sheen ceiling paint in kitchens and bathrooms. The slight gloss makes these ceilings easier to clean when cooking moisture or steam causes new marks.
Apply your ceiling paint in thin, even coats. Most ceilings need two coats for uniform coverage. Let each coat dry completely before applying the next one.
How Long Will a Painted Ceiling Stay Stain-Free?
Here’s the honest answer. If you used quality stain-blocking primer and applied it correctly, your stains won’t come back through the paint. The primer creates a permanent seal.
But that doesn’t mean new stains can’t form. If someone smokes in your home after painting, new tar and nicotine will deposit on your fresh paint. Continued cooking without proper ventilation will create new grease stains over time.
Your paint job itself will last 5-10 years in most homes. After that, you might want to refresh the look, but it won’t be because the old stains returned. It will be because paint naturally ages and yellows slightly, especially in rooms with less natural light.
Common Mistakes That Ruin Ceiling Paint
Even with the right products, mistakes happen. These are the problems that trip up most homeowners:
- Skipping the primer. Some people think they can save money by just using extra coats of ceiling paint. This never works on stained ceilings. You’ll waste more money buying multiple gallons of ceiling paint than you would have spent on one can of good primer.
- Using the wrong primer. Water-based stain blockers can’t handle heavy smoke stains. If you choose the weakest option for a serious problem, you’ll see stains return.
- Inadequate surface prep. Painting over dirt, grease, or loose paint means your new coating won’t stick properly. Within months, you might see peeling or flaking.
- Applying primer or paint too thin. One skimpy coat of primer won’t block stubborn stains. Two good coats always beat three thin ones.
- Not letting coats dry properly between applications. If you rush and apply a second coat before the first one dries, you trap moisture and solvents. This leads to poor adhesion and early paint failure.

When to Call a Professional Painter
Some ceiling stain problems go beyond a weekend DIY project. You’ll know it’s time to bring in the pros when you face these situations:
- Heavy smoke damage throughout an entire home takes specialized equipment and experience. Professional painters have the tools to prep and paint large areas quickly while maintaining quality.
- High ceilings or vaulted ceilings create safety concerns. Climbing scaffolding or using tall ladders requires training and the right equipment. One fall can cost you far more than hiring a painter.
- Water-damaged ceilings might have underlying problems that need fixing before painting. Pros can identify and address these issues rather than just covering them up.
- Textured or popcorn ceilings require special techniques. If you need to remove texture before painting, or if you want to paint around the texture without flattening it, professionals have the skills to do this right.
- Time constraints matter too. If you need the work done quickly for a home sale or rental turnover, professional crews can complete in days what might take you weeks.
Making Your Ceiling Look Brand New Again
Those ugly stains don’t have to define your ceiling anymore. With the right approach, you can make your ceilings look fresh and clean. The process isn’t complicated, but it does require using the correct products in the right order.
Start with thorough cleaning and prep. Choose a stain-blocking primer that matches your stain severity. Apply that primer in adequate coats to completely seal the stains. Finish with quality ceiling paint in two coats for even coverage.
Your home will look better, feel cleaner, and you’ll have the satisfaction of knowing those stains won’t come back. Whether you’re getting ready to sell, just moved in, or simply want to refresh your space, a properly painted ceiling makes a huge difference in how your rooms look and feel.
Get Professional Help for Flawless Ceilings
You’ve learned what it takes to properly cover smoke and cooking stains on your ceiling. But sometimes, the best decision is letting experienced professionals handle the work. At TRICO PAINTING, we’ve helped thousands of homeowners transform stained ceilings into beautiful, clean surfaces that last for years.
Our team knows exactly which primers and paints work for your specific stain problems. We handle all the prep work, use commercial-grade products, and back our work with a guarantee. No guessing, no failed DIY attempts, no wasted weekends.
Ready to see what your ceilings could look like? Call TRICO PAINTING at 916-957-2633 for a free estimate. We’ll assess your ceiling stains, explain your options, and show you how affordable professional results can be. Your clean, fresh ceilings are just one phone call away.

